


If you’ve ever tried to flash a custom firmware onto an Orange Pi, recover a bricked Radxa board, or simply get your Windows PC to recognize a Rockchip-powered device, you’ve probably run into a familiar problem: your computer just doesn’t see it. You plug in the USB cable, and nothing happens. No new drive appears, no device pops up in Device Manager with a friendly name. It’s like you’ve plugged it into a rock.
That’s where the Rockchip Driver Assistant comes in. It’s a small, unglamorous utility that solves a very specific problem: making Windows talk to Rockchip devices in low-level modes like Loader and Maskrom. Without it, tools like RKDevTool are useless. So let’s break down what this thing actually is, where to get it, and how to install it.
Download (Rockchip Driver Assitant ver. 5.12) Download (Rockchip Driver Assitant ver. 5.14)
Table of Contents
- What Exactly Is Rockchip Driver Assistant?
- Why Do You Even Need This?
- Where to Download Rockchip Driver Assistant
- Step-by-Step Installation Guide
- Common Issues and Troubleshooting
- Looking Ahead: The Future of Rockchip Boards
What Exactly Is Rockchip Driver Assistant?
At its core, Rockchip Driver Assistant is an official Windows utility from Rockchip that automates the installation of USB drivers for their SoCs (System-on-Chips). It’s not a driver itself, but a convenient installer that handles two critical drivers:
- Rockusb Driver: This is the primary driver for flashing firmware. When your device is in Maskrom or Loader mode, this driver is what allows RKDevTool to see it and write new images to the eMMC Storage or NAND flash.
- Rockchip ADB Driver: This driver is for Android Debug Bridge. If you’re developing for an Android tablet or TV box based on a Rockchip processor, you need this to use ADB commands for debugging and app installation.
Instead of manually hunting for .inf files and wrestling with Windows’ driver signing, you run one executable, and it takes care of the rest.
Why Do You Even Need This?
If you’re just using a Rockchip board as a regular computer running Armbian or Android from the factory, you might never need this. The device will boot normally, and you can use it like any other PC.
The problems start when you want to install a new operating system or recover a device that won’t boot. In these situations, you need to put the board into a special low-level mode.
Loader Mode and Maskrom Mode are the two key states. In Maskrom mode, the device bypasses the normal boot process and waits for instructions via USB. This is the ultimate rescue mode, often necessary when a bad flash has corrupted the bootloader. Driver Assistant ensures Windows can identify and communicate with the device in this critical state, so you can use RKDevTool to erase the storage and flash a fresh image.
If the device cannot enter Loader mode because its bootloader is damaged, follow the full Rockchip Maskrom recovery procedure to force USB access and restore the firmware.
This is especially important for some of the more powerful boards on the market. For example, when you’re working with a high-end board like the Rockchip RK3588, the flagship that still rules, you’ll frequently be switching between OSes or tweaking the bootloader, making reliable USB drivers non-negotiable. The same applies to more compact boards; understanding what an open circuit is, its causes, detection, and prevention can be just as crucial for diagnosing hardware issues, but software connectivity is the first hurdle.
Where to Download Rockchip Driver Assistant
Always download the official version from reputable sources to avoid malware or compatibility issues.
You can typically find it in the Tools section of the official documentation for major Rockchip-based single-board computers. For instance, the Radxa documentation provides it as part of their Windows setup guides. The FriendlyELEC wiki also hosts it in their 05_Tools directory.
The version number is usually included in the filename, like Rockchip_DriverAssitant_v5.12.zip. It’s common to see versions like v5.12 or v5.14. While newer versions are generally better, it’s often safest to use the version recommended in the official documentation for your specific board.
Step-by-Step Installation Guide
The installation process is straightforward, but there’s one golden rule to remember. I’ve learned this the hard way after spending an hour wondering why my PC wouldn’t detect a new board.
Step 1: Prepare Your System
- Download the DriverAssistant.zip file.
- Extract the contents to a folder on your computer. Don’t run it directly from the zip file.
- Close any other programs, especially RKDevTool or other flashing tools.
Step 2: Run the Installer
- Navigate to the extracted folder.
- Find DriverInstall.exe. This is the main executable.
- Right-click on it and select Run as administrator. This is non-negotiable; without admin rights, the driver installation will fail.
Step 3: Uninstall Old Drivers (Crucial)
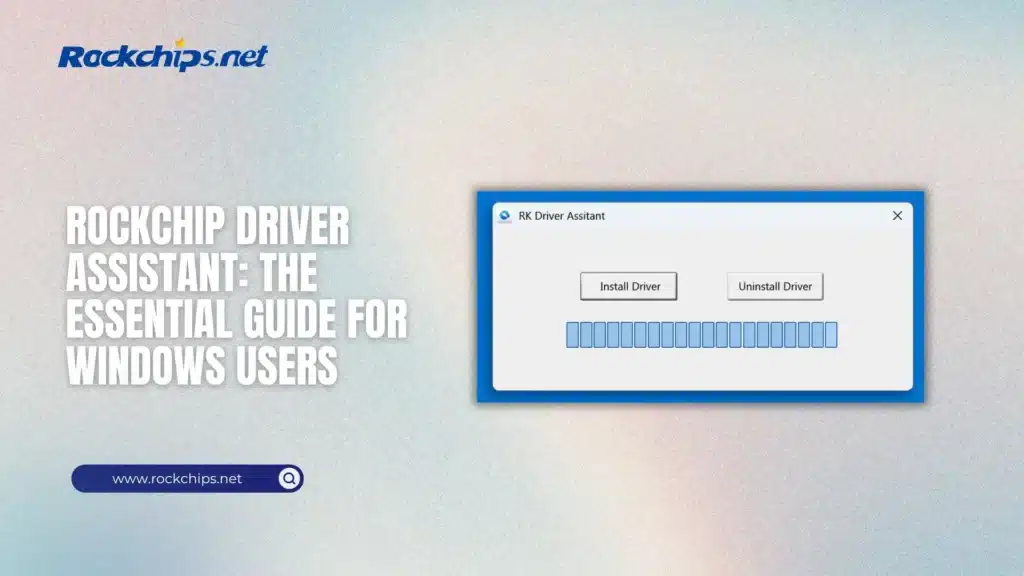
Here’s the trick that many people miss: before installing the new driver, you should always click the “Uninstall Driver” button first. This removes any older or conflicting Rockchip drivers that might be lurking on your system. I’ve had cases where an old driver from a different device prevented a new one from working correctly. Click “Uninstall Driver” and wait for the process to finish.
Step 4: Install the Driver
Once the uninstallation is complete, click the “Install Driver” button. You’ll see a command prompt window flash for a moment as it installs the necessary files. You should see a confirmation message saying the installation was successful.
That’s it. Once this is done, your Windows PC will be ready to communicate with your Rockchip device in low-level modes. With the drivers in place, you can now run RKDevTool.exe and your device should be recognized when connected in Maskrom or Loader mode.
Common Issues and Troubleshooting
Even with Driver Assistant, things can sometimes go wrong. Here are a few common scenarios:
- Driver Installation Failed: This is almost always due to Windows Driver Signature Enforcement. On Windows 10 and 11, you may need to restart your PC in Disable Driver Signature Enforcement mode before running the installer. This is a common step for flashing tools, which often use unsigned drivers.
- Device Shows as Unknown Device with a Yellow Exclamation Mark: This means the driver didn’t stick. Try the Uninstall Driver and Install Driver process again. If that fails, manually uninstall the device from Device Manager, check the box to Delete the driver software for this device, and then run Driver Assistant again.
- The board still isn’t detected: Double-check your USB cable. Many micro-USB and USB-C cables are for charging only and don’t carry data. Use a known good data cable. Also, ensure your board is powered correctly. Some boards need to be powered separately, even when connected via USB.
- Stuck in Loader Mode: Sometimes, after a bad flash, your board will keep rebooting into Loader mode. This can sometimes be resolved by using RKDevTool‘s EraseAll function to wipe the flash, then flashing a full firmware image.
Looking Ahead: The Future of Rockchip Boards
Driver Assistant remains a staple for interacting with current Rockchip SoCs. As we look towards next-generation hardware like the RK3688 SBC, and what we know so far, the tools for flashing and debugging are likely to remain similar. While the future RK3688 promises incredible performance with its 12 cores and 32 TOPS NPU, the fundamental process of installing an OS or recovering a bricked device will still involve Rockchip’s Driver Assistant and RKDevTool.
It’s not exciting software. It doesn’t have a slick UI or perform any cool tricks. But if you own a Rockchip-based board, the Rockchip Driver Assistant is arguably the most important software you’ll install. It’s the unsung hero that bridges the gap between your powerful hardware and your computer, and without it, your shiny SBC is just an expensive paperweight.